
How to Fish Giant Piranha Boss: Solo Survival Plan
Updated 2026-09-06
Beat the Patch 1.0.12 Giant Piranha with a controlled solo plan: manage spawned fish, preserve healing, test weapons safely, and recover the quest drop.
Patch 1.0.12 answer: the Piranha was rebalanced
Dazed Games officially rebalanced the Piranha in Patch 1.0.12 on September 4. The notes do not say whether health, damage, add count, timing or another value changed, so older exact-number claims cannot be converted into current facts. Fresh Steam topics still ask how to beat the boss and describe repeated failed attempts after the patch. Use the current-build movement plan below, and report a reproducible problem with the version shown rather than assuming the rebalance made the fight universally easy.
What players are struggling with
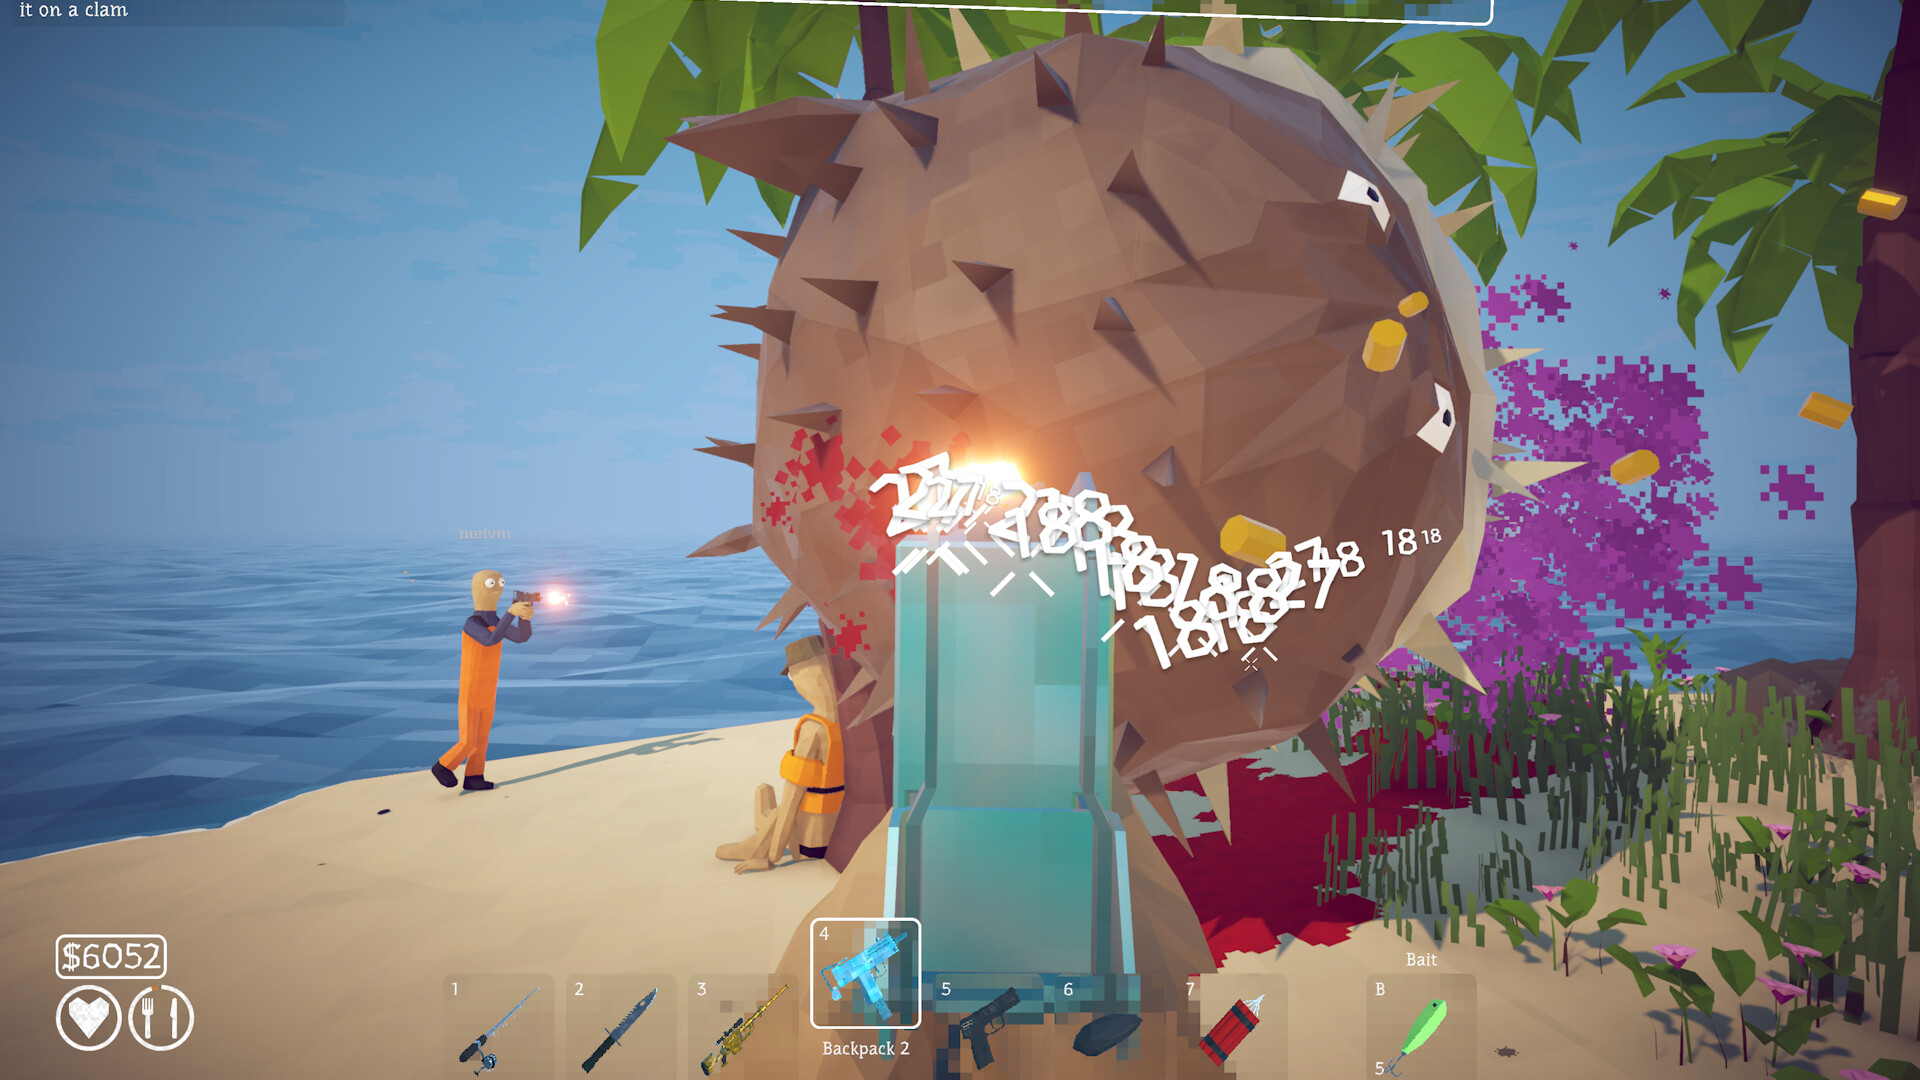
The giant piranha remains a repeated solo difficulty wall in current Steam discussions. Reports describe pressure from smaller piranhas while the main target remains active. Threads contain conflicting weapon preferences—pistol, shotgun, automatic fire and dynamite—which means this page treats loadouts as community options, not fixed facts. The dependable objective is to preserve movement and reduce the number of simultaneous threats before returning damage to the boss.
Build a simple arena circuit
Before triggering the encounter, choose a wide loop with clear sightlines and no narrow turn that forces you into the boss. Practice moving it while looking back at the waterline. When smaller piranhas appear, avoid stopping in the center to trade damage. Keep the group behind or beside you, turn only when the circuit opens, and resume movement before reloading. A slightly longer fight with predictable spacing is safer than chasing a fast kill while surrounded.
Handle adds deliberately
Community replies repeatedly recommend shooting spawned piranhas rather than tunneling the boss. Clear enough small targets to restore a manageable screen, but do not chase a single fish into bad terrain. If defeated creatures can provide recovery in your current build, inspect and use them only when the boss is at a safe distance. Keep one emergency food item in a fixed slot so healing does not require browsing a cluttered inventory during the next rush.
Select and test the weapon
Use the weapon whose recoil and reload you can control while moving. A fully upgraded weapon is not useful if its effective distance puts you inside the add pack. Test the pistol, shotgun or automatic option on ordinary creatures and record how many safe shots fit between movement changes. Explosives are reported as an add-clearing option, but physics makes placement risky; practice away from the boss and never carry the plan if it repeatedly damages you.
Run a learning attempt
Treat the first attempt as observation. Note when adds appear, which part of the circuit breaks, whether reloads or healing cause most damage, and whether your camera loses the boss. Change only one variable before the next try: route, weapon, inventory or add priority. This prevents money and time from disappearing into random loadout swaps. If the fight behaves differently after a patch, the same observation method rebuilds a safe plan without relying on outdated numbers.
Secure progression after the win
Once the fight ends, stop throwing explosives and search the complete drop area. Keep distinctive pieces apart from consumable meat, inspect the active objective and return the expected trophy to the quest giver. Save from the menu after the objective updates. If the next route remains locked, do not assume the kill failed; the missing step may be a trophy hand-in or navigation item covered by the island progression guide.
How to apply this guide safely
Begin with “Patch 1.0.12 answer: the Piranha was rebalanced” and compare it with the objective, inventory, and controls shown by your installed build. Do not change several variables at once. If the guide concerns progression, complete one dialogue or hand-in and confirm the objective changed before sailing away. If it concerns combat, test the control or equipment choice on an ordinary encounter before spending a boss trigger. If it concerns troubleshooting, preserve the save and start with reversible checks such as restarting the session and verifying files.
Keep a short run record with the game version, solo or co-op state, host identity, starting objective, relevant equipment, steps taken, and outcome. Physics, network state, and retail patches can make two attempts look different even when both players describe them honestly. A controlled record lets you identify which condition changed. It also gives the developer a useful reproduction if the result points to a defect rather than a missed quest step.
Evidence and version check
This article uses Dazed Games — Patch 1.0.12 Piranha rebalance, Steam Store — How to Fish, Steam Discussions — current Piranha and progression questions, Steam Discussion — solo giant piranha. Official store text and developer announcements establish supported features and broad progression. Steam achievement wording establishes that a named action exists, but it does not prove an exact coordinate, probability, price, damage value, or hidden timer. Community discussions can reveal a repeated problem and possible workaround, but one reply is not treated as a universal mechanic. Where evidence stops, the guide uses cautious testing steps instead of inventing a precise answer.
Before relying on an older route, check the Steam news and discussion dates against the updated date at the top of this page. Prefer the current in-game objective when it conflicts with a video or forum post. Avoid unknown executables, replacement saves, cheats, or destructive file edits offered as shortcuts. A legitimate workaround should be explainable, reversible, and testable without surrendering account credentials or deleting the only known-good save.
Completion check
Finish with “Secure progression after the win,” then verify the result in the system that matters: quest log for progression, inventory for items, Steam for achievements, or a repeatable symptom check for a technical fix. Do not treat a visual animation alone as proof that the save registered the event. Wait for a normal transition and inspect the state before selling items, changing hosts, or starting another objective. If the result differs from this page, send the URL, build number, exact steps, and observed result through the contact page; that evidence is how we correct guides without turning uncertain reports into false facts.
Sources & Evidence
Claims are backed by the following sources. Unknowns are marked explicitly.
- Dazed Games — Patch 1.0.12 Piranha rebalanceOfficial / Tier 1Checked 2026-09-06
- Steam Store — How to FishOfficial / Tier 1Checked 2026-08-25
- Steam Discussions — current Piranha and progression questionsCommunity / Tier 2-3Checked 2026-09-06
- Steam Discussion — solo giant piranhaCommunity / Tier 2-3Checked 2026-08-25