How to Fish Walkthrough — All 5 Islands, Bosses & Hand-Ins
Updated 2026-09-08
The complete How to Fish walkthrough from Lighthouse to Volcano, with every boss trigger and trophy pitfall. Route reviewed through official Patch 1.0.12 notes.
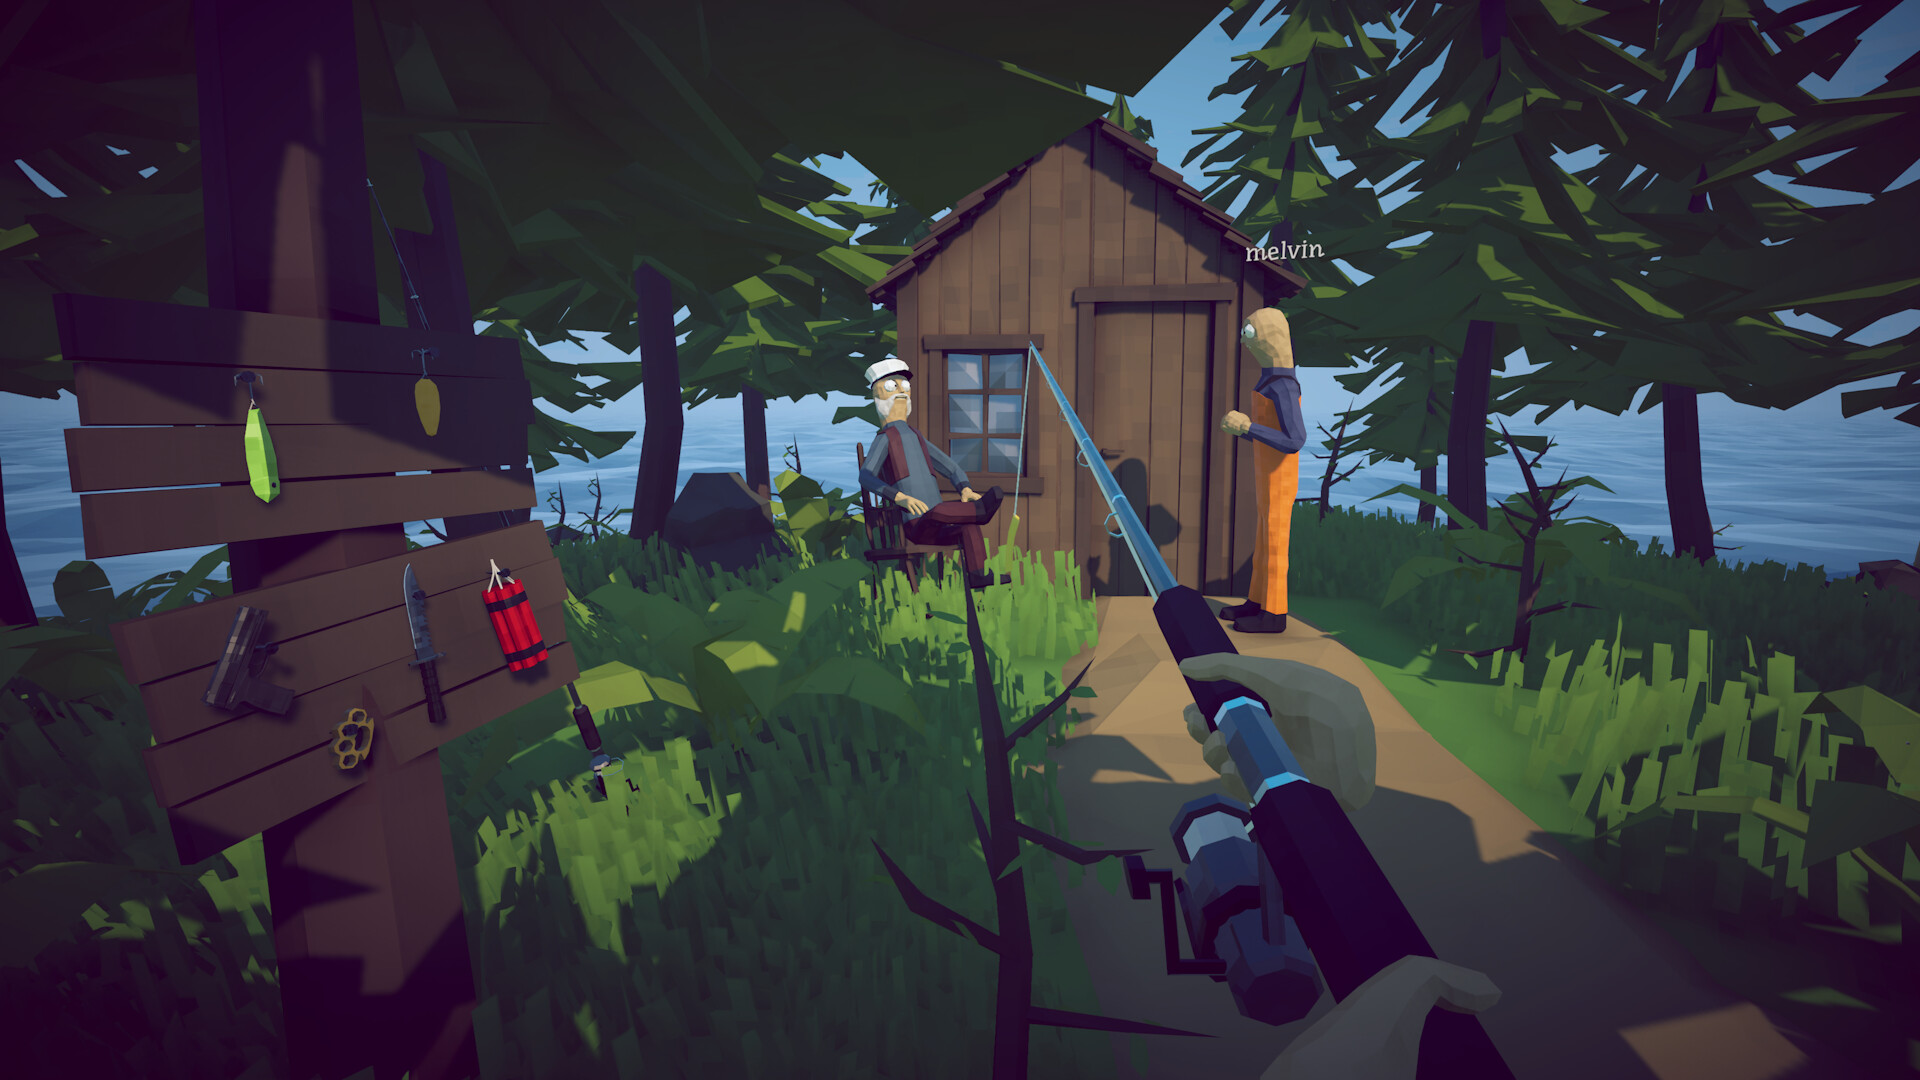
Patch 1.0.12 route review: progression is unchanged, balance is not
The official notes from Patch 1.0.10 through 1.0.12 do not announce a new island, creature, lure tier, story boss or hand-in sequence, so the route below remains the current documented progression path. Patch 1.0.12 does rebalance the Giant Piranha, slightly nerf Tuna and fix final-boss explosive damage when a hit lands on its tail. Those are combat boundaries, not evidence for changing the bait or trophy chain. This page therefore keeps the established route while linking patch-sensitive fights to their current boss guides.
How to use this walkthrough
Follow the stages in order — How to Fish is a linear game. Each island is locked behind the previous island's boss hand-in, so the documented route is Lighthouse → Forest → Desert → Rocks → Volcano → the trip home. The island order, bait tables and quest chains come from the cited retail walkthrough and community tables checked in August, then were reviewed against official patch notes through 1.0.12 on September 6. One golden rule covers most mistakes: never sell a boss body or trophy until the quest it belongs to has advanced.
Stage 1 — Lighthouse: learn the loop, beat the Spider Crab
GOAL: earn the boat keys. 1. Pick up the Crab Fishing Rod and buy Ham and Hot Dogs from the island shop. 2. Fish the pool: Ham catches the Brown Crab and Shrimp, Hot Dogs catch the Rock Crab and Lobster. 3. Sell your catches to build a small cash buffer. 4. Buy a Beer Can and give it to the Lighthouse Keeper — he drinks it and hands back the Empty Beer Can. 5. Equip the Empty Beer Can as bait and cast to summon the Spider Crab. 6. Defeat it and feed the boss meat to the keeper. He gives you the boat keys, which unlock the rest of the game. AVOID THESE PITFALLS: - A normal Beer Can does nothing — only the emptied can the keeper hands back works as bait. - Do not sell the Spider Crab drop before the hand-in; the boat keys are the gate to everything. - Buy the Radar early (recorded at $10 in the Lighthouse shop). Losing track of it is one of the most common early-game complaints. - While you fish, watch for rainbow-named drip variants in the same pools — killing one registers it for Fishipedia later.
Stage 2 — Forest (Island 2): the Leech Bait quest
GOAL: defeat the Giant Piranha and claim the Island 3 coordinates. 1. Stock up on French Fries and the Beginner Lure. French Fries catch the Mackerel and Gar (the Pike answers both); the Beginner Lure catches Cod, Piranha, Triggerfish, Goby, Salmon, Goldfish, and Perch. 2. Speak with the woman by the lake. 3. Search the Forest for three Leeches lying on the ground and return all three to her. 4. Take the Leech Bait she gives you. 5. Equip it and cast in the Forest to summon the Giant Piranha. 6. Kill the smaller piranhas first, then finish the boss and return its drop to the woman for the Island 3 coordinates. OPTIONAL: the Beginner Boss Lure (sold here, about $40 per community price lists) summons the Sunfish and The Old Pike mini-bosses. Neither is required for the story. AVOID THESE PITFALLS: - The Giant Piranha ignores the Beginner Boss Lure completely. Players burn $40 lures wondering why nothing spawns — the story boss only answers Leech Bait. - Boss lures are consumed on use. Do not cast one casually. - Fighting the Giant Piranha while small piranhas swarm you is the standard way this fight goes wrong — clear them first.
Stage 3 — Desert (Island 3): unlock the grill before anything else
GOAL: unlock the grill, then beat the Pufferfish for the Island 4 coordinates. 1. Buy the Standard Lure (the pink one, $15 per community price lists). All nine normal Desert catches use it: Catfish, Bluegill, Yellow Boxfish, Angelfish, Needlefish, Sea Urchin, Clownfish, Seahorse, and Bowlfish. 2. Buy the Standard Boss Lure ($280) and cast to summon the Blue Shark. 3. Defeat it — community guides say a maxed Uzi is enough — and carry the body to the Grillmaster. He starts the grill. 4. Catch a Needlefish with the Standard Lure and give it to the Tourist under the tree. 5. Take the Carrot he gives you and use it as bait to summon the Pufferfish. 6. Keep your distance, defeat it, and hand in the trophy for the Island 4 coordinates. AVOID THESE PITFALLS: - Do NOT sell the Blue Shark. Its body is the Grillmaster's quest item, and the grill is your main money multiplier for the rest of the game — cooked items sell for a premium over raw. Selling the shark forces you to buy another $280 lure and redo the fight. - The Standard Boss Lure and the ordinary pink Standard Lure are different items. Buying the wrong one is a classic $280 mistake. - The Pufferfish is the most common mid-game progression wall: fast, tanky, and unforgiving in close quarters. Prepare healing food and open space before casting the Carrot.
Stage 4 — Rocks (Island 4): the Tuna baits the Albatross
GOAL: beat the Albatross and claim the final island coordinates. 1. Buy the Professional Lure — all ten normal Rocks catches require it, and farming with an older tier is a waste of your time. 2. Buy the Professional Boss Lure ($1,200 per community price tables) and cast to summon the Tuna. 3. Dodge its leaping attacks and defeat it. 4. Do not sell the Tuna. Drop its body on the grass. 5. Wait for the Albatross to fly down and take the bait — it cannot be hooked with a rod. 6. Shoot it down and hand its head to the NPC for the Volcano coordinates. AVOID THESE PITFALLS: - Selling or cooking the Tuna is the single most expensive mistake on this island: the Albatross only comes for the body, and a replacement means another $1,200 lure. - This is the game's only aerial fight. Bring a long-range weapon — one field guide records the Island 4 sniper rifle at $3,800 plus a separately bought scope. Arriving with short-range guns turns the fight into a slog. - The Albatross hand-in is the gate to the final island. Verify the coordinates actually appeared before sailing away.
Stage 5 — Volcano (Island 5): the final chain
GOAL: finish the story. 1. Buy the Scientific Lure ($500). It catches all five normal Volcano creatures: Stonefish, Blobfish, Anglerfish, Oarfish, and Superdwarf Fish. 2. Complete the scientist's requests — catch five Volcano-native fish — and receive the Fish Bucket. 3. Equip the Fish Bucket as bait, catch and defeat the Bowhead Whale. 4. Keep the whale. Carry its body to the volcano crater and throw it in to start the final encounter. 5. Defeat the Mutated Bowhead Whale. 6. Take its fin to the NPC in the hazmat suit, receive the military boat key, and sail back toward the mainland. Reaching it triggers the ending and credits. OPTIONAL: the Scientific Boss Lure ($5,800) summons the Goblin Shark. It is not required for the ending, but you need it for the full creature collection — and third-party guides record a $6,200 base sale price, the best ordinary sale in the game. AVOID THESE PITFALLS: - Do NOT sell the Bowhead Whale. Its body is the trigger for the final boss, and there is no other way to start the encounter. - Arrive with endgame gear and cooked food before throwing the whale into the volcano — once the final fight starts you are committed. - The Goblin Shark is optional. Do not let a $5,800 lure delay your first clear; come back for it during cleanup.
The money loop that funds the whole run
Every stage above is gated by gear, and gear is gated by money. The reliable loop: fish the current island's pool, cook everything on the nearest grill, sell cooked rather than raw, and reinvest in this order — inventory and hotbar slots first (they multiply every later trip), then one primary weapon upgraded fully instead of several half-upgraded, then the next island's lure tier. The Desert is the easiest farming ground once the grill is running, because all nine of its catches answer the $15 Standard Lure. The slot machine and roulette exist, but both are RNG-sided income; cooked fish is the floor you can plan around. If a boss attempt fails, one focused fishing session rebuilds the lure money in minutes.
When progress stalls: the five most reported blockers
First, a boss will not spawn — confirm you used the correct trigger: story bosses need quest bait (Empty Beer Can, Leech Bait, Carrot, placed Tuna, Fish Bucket), mini-bosses need the boss-tier lure, and neither answers the ordinary lure. Second, the next island never unlocks — the boss trophy is still lying in the arena or on your boat; physics scatters drops, so search before repeating the fight. Third, an NPC refuses the hand-in — you are holding a generic fish instead of the quest piece. Fourth, the radar shows nothing — the item must be bought and equipped, not assumed. Fifth, co-op progress desyncs — let the host carry every progression item and wait for all players to load before turning anything in.
After the story: the cleanup order that saves the most time
Steam's global achievement list confirms 28 achievements, and the post-game has a sensible order. First, finish the creature collection (Collector) with endgame gear — every regular creature is trivial to farm once you outgun it. Second, grind Fishipedia: drip variants share the normal creature's pool, island, and bait, so you are re-fishing pools you already know while watching for rainbow names; press Tab to check what is missing. Third, set up Rich! Millionaire — community testing confirms it tracks a single item's value, not your wallet balance, so cook something huge like the Goblin Shark before selling. Fourth, take the challenge achievements (Easy, Handyman, Bean) on a fresh, focused run rather than forcing them into a cleanup save. Treat the casino achievements as background RNG, not goals. Check the updated date on this page against the latest patch notes before following any route step — retail updates can reorder triggers.
How to apply this guide safely
Begin with “Patch 1.0.12 route review: progression is unchanged, balance is not” and compare it with the objective, inventory, and controls shown by your installed build. Do not change several variables at once. If the guide concerns progression, complete one dialogue or hand-in and confirm the objective changed before sailing away. If it concerns combat, test the control or equipment choice on an ordinary encounter before spending a boss trigger. If it concerns troubleshooting, preserve the save and start with reversible checks such as restarting the session and verifying files.
Keep a short run record with the game version, solo or co-op state, host identity, starting objective, relevant equipment, steps taken, and outcome. Physics, network state, and retail patches can make two attempts look different even when both players describe them honestly. A controlled record lets you identify which condition changed. It also gives the developer a useful reproduction if the result points to a defect rather than a missed quest step.
Evidence and version check
This article uses Dazed Games — Patch 1.0.12 official announcement, KeenGamer — How to Fish: Complete Walkthrough & All Fish Locations, Nerd's Chalk — Standard Boss Lure & lure price table, Steam Store — How to Fish, Steam Global Achievements — How to Fish, GAMES.GG — How to Fish boss guides. Official store text and developer announcements establish supported features and broad progression. Steam achievement wording establishes that a named action exists, but it does not prove an exact coordinate, probability, price, damage value, or hidden timer. Community discussions can reveal a repeated problem and possible workaround, but one reply is not treated as a universal mechanic. Where evidence stops, the guide uses cautious testing steps instead of inventing a precise answer.
Before relying on an older route, check the Steam news and discussion dates against the updated date at the top of this page. Prefer the current in-game objective when it conflicts with a video or forum post. Avoid unknown executables, replacement saves, cheats, or destructive file edits offered as shortcuts. A legitimate workaround should be explainable, reversible, and testable without surrendering account credentials or deleting the only known-good save.
Completion check
Finish with “After the story: the cleanup order that saves the most time,” then verify the result in the system that matters: quest log for progression, inventory for items, Steam for achievements, or a repeatable symptom check for a technical fix. Do not treat a visual animation alone as proof that the save registered the event. Wait for a normal transition and inspect the state before selling items, changing hosts, or starting another objective. If the result differs from this page, send the URL, build number, exact steps, and observed result through the contact page; that evidence is how we correct guides without turning uncertain reports into false facts.
Sources & Evidence
Claims are backed by the following sources. Unknowns are marked explicitly.
- Dazed Games — Patch 1.0.12 official announcementOfficial / Tier 1Checked 2026-09-06
- KeenGamer — How to Fish: Complete Walkthrough & All Fish LocationsThird-party / Tier 4Checked 2026-08-26
- Nerd's Chalk — Standard Boss Lure & lure price tableThird-party / Tier 4Checked 2026-08-26
- Steam Store — How to FishOfficial / Tier 1Checked 2026-08-26
- Steam Global Achievements — How to FishCommunity / Tier 2-3Checked 2026-08-26
- GAMES.GG — How to Fish boss guidesThird-party / Tier 4Checked 2026-08-26
Related guides
- How to Fish Mechanics Guide: Casting, Reeling & Trick Shots
- How to Beat the Blue Shark Boss in How to Fish
- How to Beat the Pufferfish Boss in How to Fish
- How to Beat Albatross in How to Fish: Spawn, Cover & Bird Head
- How to Catch the Tuna in How to Fish: Professional Boss Lure Guide
- How to Fish Goblin Shark: Scientific Boss Lure, Fight & Value
- How to Fish Achievements Roadmap: All 28 Steam Achievements