How to Beat the Blue Shark Boss in How to Fish
Updated 2026-08-26
Summon the Blue Shark on Island 3 with a Standard Boss Lure, fight it through the coconut trees with sustained automatic fire, and carry the body to the Grillmaster instead of selling it.
Where the Blue Shark fits in Island 3 progression
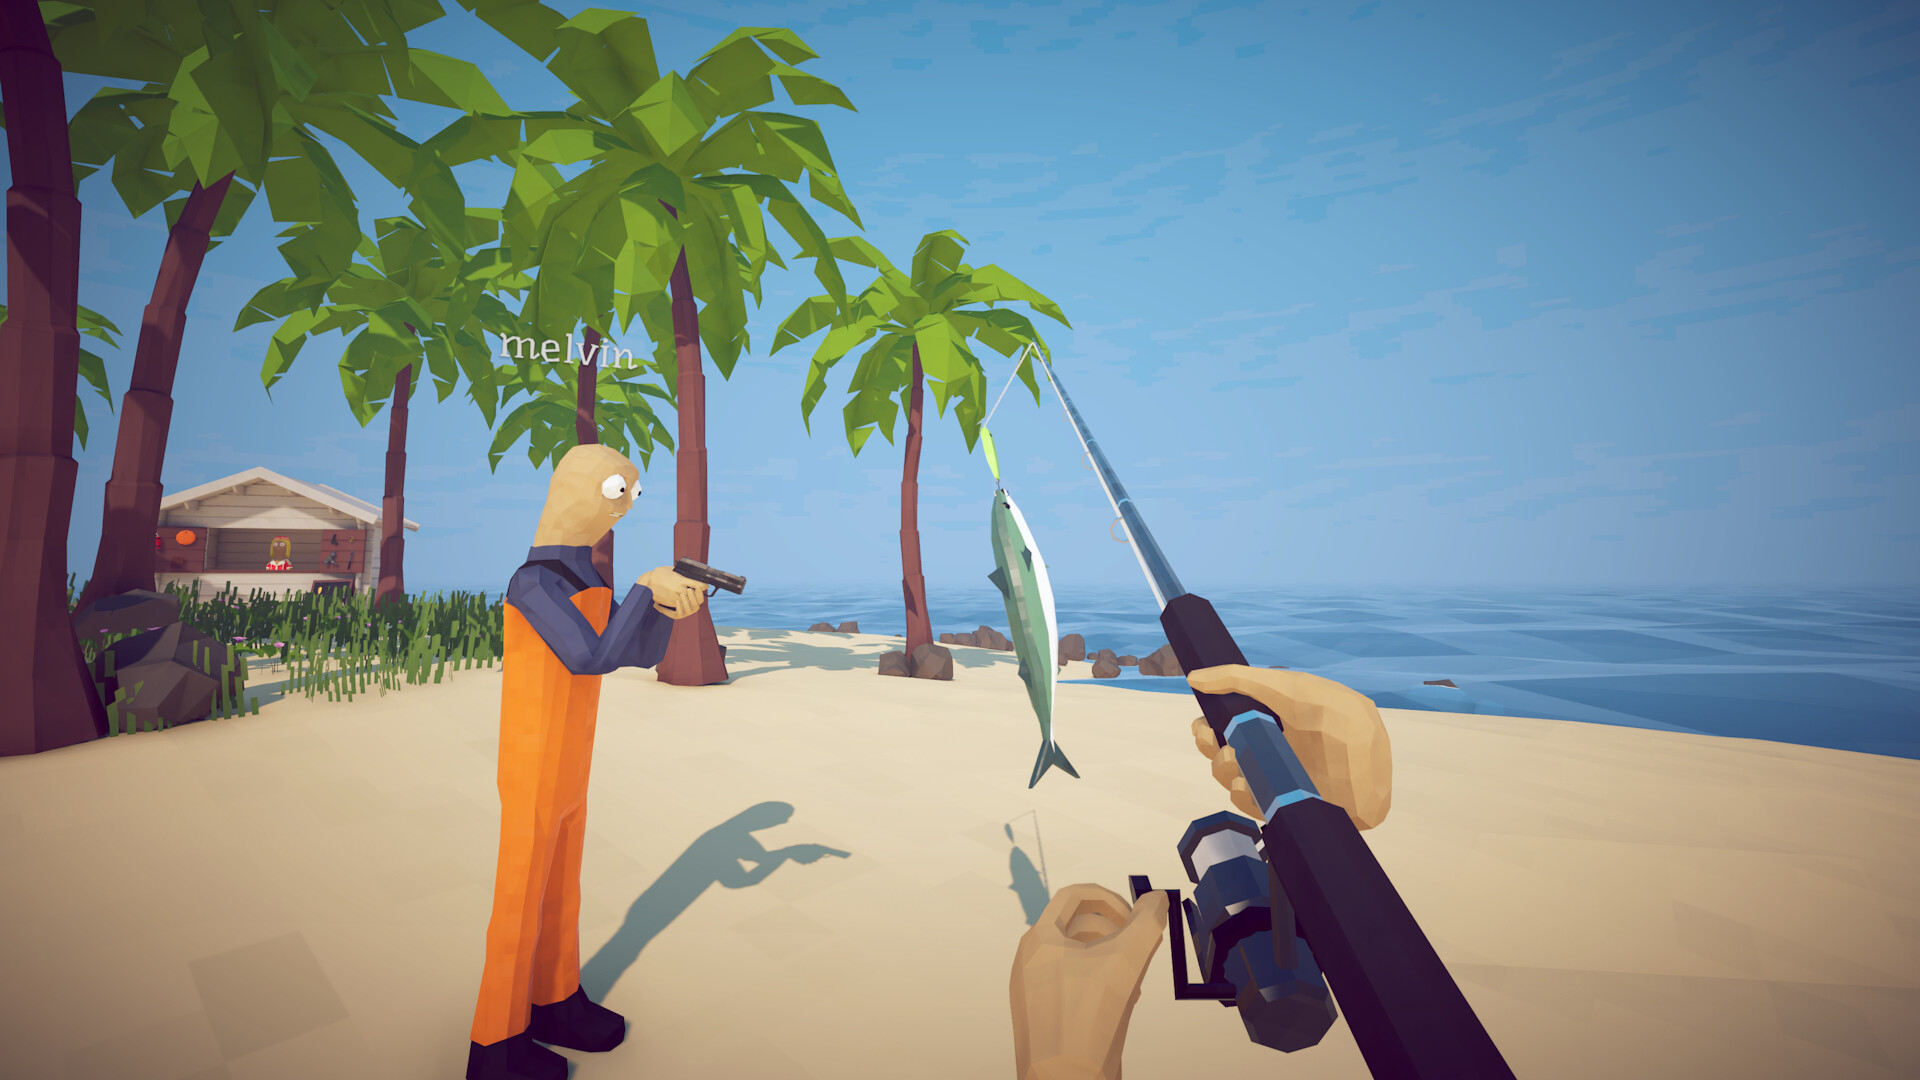
The Blue Shark is the headline boss of Island 3, the desert-and-palm island reached after the Island 2 quest chain. Community location tables agree on the trigger: it answers a Standard Boss Lure, the island-tier boss bait sold at the shop, rather than any ordinary fishing lure. The fight is tied to the Grillmaster, the Island 3 NPC whose grill becomes the island's cooking station once his request is satisfied. Treat the encounter as a quest hand-in, not a hunting trip: the value is in delivering the shark, not in its sale price.
Buy exactly one Standard Boss Lure
Island boss lures are consumed the moment they touch the water, so purchase a single Standard Boss Lure only when the rest of your preparation is done. A third-party field guide published during launch week reports a price around $280 and a shark health pool near 2,300; treat both figures as patch-sensitive reference points rather than guaranteed values, and let the current shop display be the authority for your build. Buying duplicates before the fight wastes cash that is better spent on ammunition, inventory slots, or healing food.
Meet the damage benchmark before you cast
Launch-week boss write-ups consistently describe a maxed Uzi, or any automatic weapon with equivalent sustained damage, as the comfort threshold for this fight. The exact numbers can change between patches; the durable rule is that your weapon must burn through a large health pool with reload windows you can survive. Fill every extra inventory and hotbar slot you own with cooked fish before casting, because cooked catches are your practical healing supply. If your damage feels thin, finish ordinary Island 3 fishing and selling loops first rather than gambling a consumed lure on an underpowered attempt.
Fight between the coconut trees, not into them
Island 3's palm trunks and coconut trees are the real hazard. Third-party fight reports describe the same failure pattern: the player backpedals while shooting, gets wedged between trees, and eats hits during a reload. Before casting, walk the arena and identify two or three open lanes you can strafe through without turning. During the fight, keep moving along those lanes, fire in controlled bursts, and reload only when you have created distance. The shark occasionally snags on a tree, which is a welcome burst of free damage but not a strategy you can plan around.
Carry the body to the Grillmaster
When the shark drops, pick up the body and deliver it to the Grillmaster to complete his quest and open grill access on the island. Community warnings are unusually consistent here: selling the Blue Shark instead of turning it in forfeits the Grillmaster reward, and the reported sale price of around $300 is trivial next to a permanent cooking station. The same field guides report that grilled items climb toward roughly 1.5x value and that the multiplier can apply to more than fish, including equipment, though exact multipliers are patch-sensitive. Confirm the quest advanced in your objective log before selling anything unusual from the fight.
Common reasons the fight or unlock fails
If the shark does not surface, confirm you cast a Standard Boss Lure on Island 3 water rather than a Standard Lure, and that the Island 2 quest chain actually completed. If you keep dying, the usual causes are reloading while cornered by trees or arriving without cooked healing food. If the Grillmaster will not talk after the kill, check the arena and shoreline for the body, because physics can scatter drops away from the death point, and make sure you are carrying the distinctive quest item rather than generic meat. If the grill still does not open after a hand-in, save from the menu and reload once before assuming the save is broken.
How to apply this guide safely
Begin with “Where the Blue Shark fits in Island 3 progression” and compare it with the objective, inventory, and controls shown by your installed build. Do not change several variables at once. If the guide concerns progression, complete one dialogue or hand-in and confirm the objective changed before sailing away. If it concerns combat, test the control or equipment choice on an ordinary encounter before spending a boss trigger. If it concerns troubleshooting, preserve the save and start with reversible checks such as restarting the session and verifying files.
Keep a short run record with the game version, solo or co-op state, host identity, starting objective, relevant equipment, steps taken, and outcome. Physics, network state, and retail patches can make two attempts look different even when both players describe them honestly. A controlled record lets you identify which condition changed. It also gives the developer a useful reproduction if the result points to a defect rather than a missed quest step.
Evidence and version check
This article uses Steam Store — How to Fish, GAMES.GG — How to Fish Boss Guide: How to Beat the Blue Shark, GAMES.GG — How to Fish Guide: All Bosses & How to Beat Them. Official store text and developer announcements establish supported features and broad progression. Steam achievement wording establishes that a named action exists, but it does not prove an exact coordinate, probability, price, damage value, or hidden timer. Community discussions can reveal a repeated problem and possible workaround, but one reply is not treated as a universal mechanic. Where evidence stops, the guide uses cautious testing steps instead of inventing a precise answer.
Before relying on an older route, check the Steam news and discussion dates against the updated date at the top of this page. Prefer the current in-game objective when it conflicts with a video or forum post. Avoid unknown executables, replacement saves, cheats, or destructive file edits offered as shortcuts. A legitimate workaround should be explainable, reversible, and testable without surrendering account credentials or deleting the only known-good save.
Completion check
Finish with “Common reasons the fight or unlock fails,” then verify the result in the system that matters: quest log for progression, inventory for items, Steam for achievements, or a repeatable symptom check for a technical fix. Do not treat a visual animation alone as proof that the save registered the event. Wait for a normal transition and inspect the state before selling items, changing hosts, or starting another objective. If the result differs from this page, send the URL, build number, exact steps, and observed result through the contact page; that evidence is how we correct guides without turning uncertain reports into false facts.
Sources & Evidence
Claims are backed by the following sources. Unknowns are marked explicitly.
- Steam Store — How to FishOfficial / Tier 1Checked 2026-08-26
- GAMES.GG — How to Fish Boss Guide: How to Beat the Blue SharkThird-party / Tier 4Checked 2026-08-26
- GAMES.GG — How to Fish Guide: All Bosses & How to Beat ThemThird-party / Tier 4Checked 2026-08-26